
Routes
Manage how each compliant page sends traffic and conversions to a Meta pixel, edit a route's settings, and grab the tracker and gate snippets to install.
A route pairs one compliant page with one destination and one Meta pixel. It is the piece that turns a clean landing page into tracked, redirected ad traffic. Each route gets its own gate script URL, so you can run several routes on one store and send different campaigns to different pixels.
This page covers managing routes you already have. For setting up your first one, see Create a route.
Routes live in the sidebar under Unrestrict → Routes (/routes).
Read the routes list
The list is a table with one row per route. By default it shows:
- Route, the name you gave it. It stays in place while you scroll sideways.
- Status. Active means the route is live and able to send; Inactive means it is off; Archived means it is retired.
- Default, which marks the route that catches traffic when no specific route matches.
- Setup, which reads Needs setup when the route is missing something it needs to send. Its page tells you what.
- Strategy, either OneHop or ZeroHop (see below).
- Compliant page, Destination, and Meta pixel: the clean page the route serves, where gated shoppers land, and the pixel that fires for this route.
- Code, the route's short ad-parameter code. Use the copy control to grab it.
Open Display to show more columns, such as the route's unique ingestion Key (with its own copy control) and when the route was Created.
Search, filter, and sort
- Search finds a route by its name, its code, or its key.
- Status and Strategy quick filters sit next to the search box. Each lists the values your routes actually hold, with a count beside each one.
- Filter builds a filter on any field, including the compliant page and the Meta pixel. Every active filter shows as a chip you can change or remove.
- Click the Route column title to sort by name. Click again to reverse the order. Routes are listed oldest first until you sort.
Click a row to open the route. The menu at the end of the row has Manage, and, for admins, Set as default and Deactivate. The footer says when the list was last updated, and Refresh updates it now.
OneHop and ZeroHop
Every route uses one of two strategies for getting a shopper from an ad to your store:
- OneHop: the shopper passes through your compliant page on the way to your store. This is the default and works for most ad setups.
- ZeroHop: the ad points straight at your store, with no compliant page in between. The route's short code has to be pasted into the ad, because nothing else tells Zappush which route the traffic belongs to.
Open a route's detail page to see its code and the exact field to paste it into in Meta Ads Manager, under Ad parameter.
Manage a route
- Find the route in the list and click its row, or open the row's menu and choose Manage.
- The detail page opens with a configuration panel at the top. Edit any of:
- Label: the name you recognize the route by.
- Destination URL: where gated shoppers land on your store.
- Compliant page: which clean page this route serves.
- Meta integration: which pixel fires for this traffic.
- A route turns on by itself once it has a compliant page and a connected Meta pixel. The toggle in the top right of the panel is available once setup is complete; while something is missing, an alert on the page names what to fix.
- When you change anything, a Save changes button appears. Click it to save.
To make a route the default, open the list, click the three-dot menu on its row, and choose Set as default. The same menu has Deactivate for a route you want to take offline.
Send conversions to more than one pixel
A route can send the same conversions to up to nine more Meta pixels, beside the one you picked under Meta integration. This helps when an agency, a second ad account, or a partner brand needs the same results in its own pixel.
- Connect each extra pixel as its own Meta integration first.
- Open the route and find Additional pixels under the configuration panel.
- Pick the pixels you want from the list, then click Save changes.
Each additional pixel gets its own line with its sent and failed conversions for the last 7 days, and the most recent error if one happened. These numbers belong to that pixel alone; they never add into your main pixel's figures. A pixel added recently shows No events yet until its first conversion arrives. To stop sending to a pixel, click Remove on its line and save. Your main pixel keeps sending as before.
Additional pixels appears once your store has a Meta integration. Pick the route's main pixel under Meta integration first, then add the extra ones.
Destination domains and link tracking
Every route can declare the domains a shopper might end up on after passing through your compliant page. When a shopper clicks any link on the compliant page that leads to one of these domains, or a subdomain of one, your Zappush tracking follows them there automatically, so the marketing that brought them keeps credit.
On a route's detail page:
- Destination domains: add each domain your compliant page's traffic might land on. Most routes only need their main destination, but add more if a campaign can land on several of your domains.
- Keep links tracked: on by default. Turn this off for a route that deliberately sends shoppers through more than one hop before reaching your store, so tracking data doesn't carry across a hop you don't want it to.
Below the destination domains, Zappush shows any domain your compliant page's traffic has recently reached that isn't declared yet, so you can add a domain you recognize with one click.
A route running a custom gate script manages its own tracking, so destination domains and link tracking don't apply to it.
Same-origin
The Same-origin panel is for advanced setups where the gate snippet is served from
your store's own host through a reverse proxy, instead of from Zappush. Turn on the
Same-origin enabled switch and set a Path prefix (for example /gate) if your
setup needs one. Below the switch, Zappush shows whether the path has been verified,
when it last verified, or the error from the last failed check. Leave this off unless
you have set up the proxy.
Custom scripts
If you are an admin, the detail page has two optional script panels:
- Store page custom script: JavaScript that runs after the tracker on the destination page. Not available on Shopify stores.
- Gate page custom script: JavaScript that runs after the gate script on the compliant page.
Each runs in its own isolated block, so a script error will not break the page. Leave these empty unless you have a specific reason to add code.
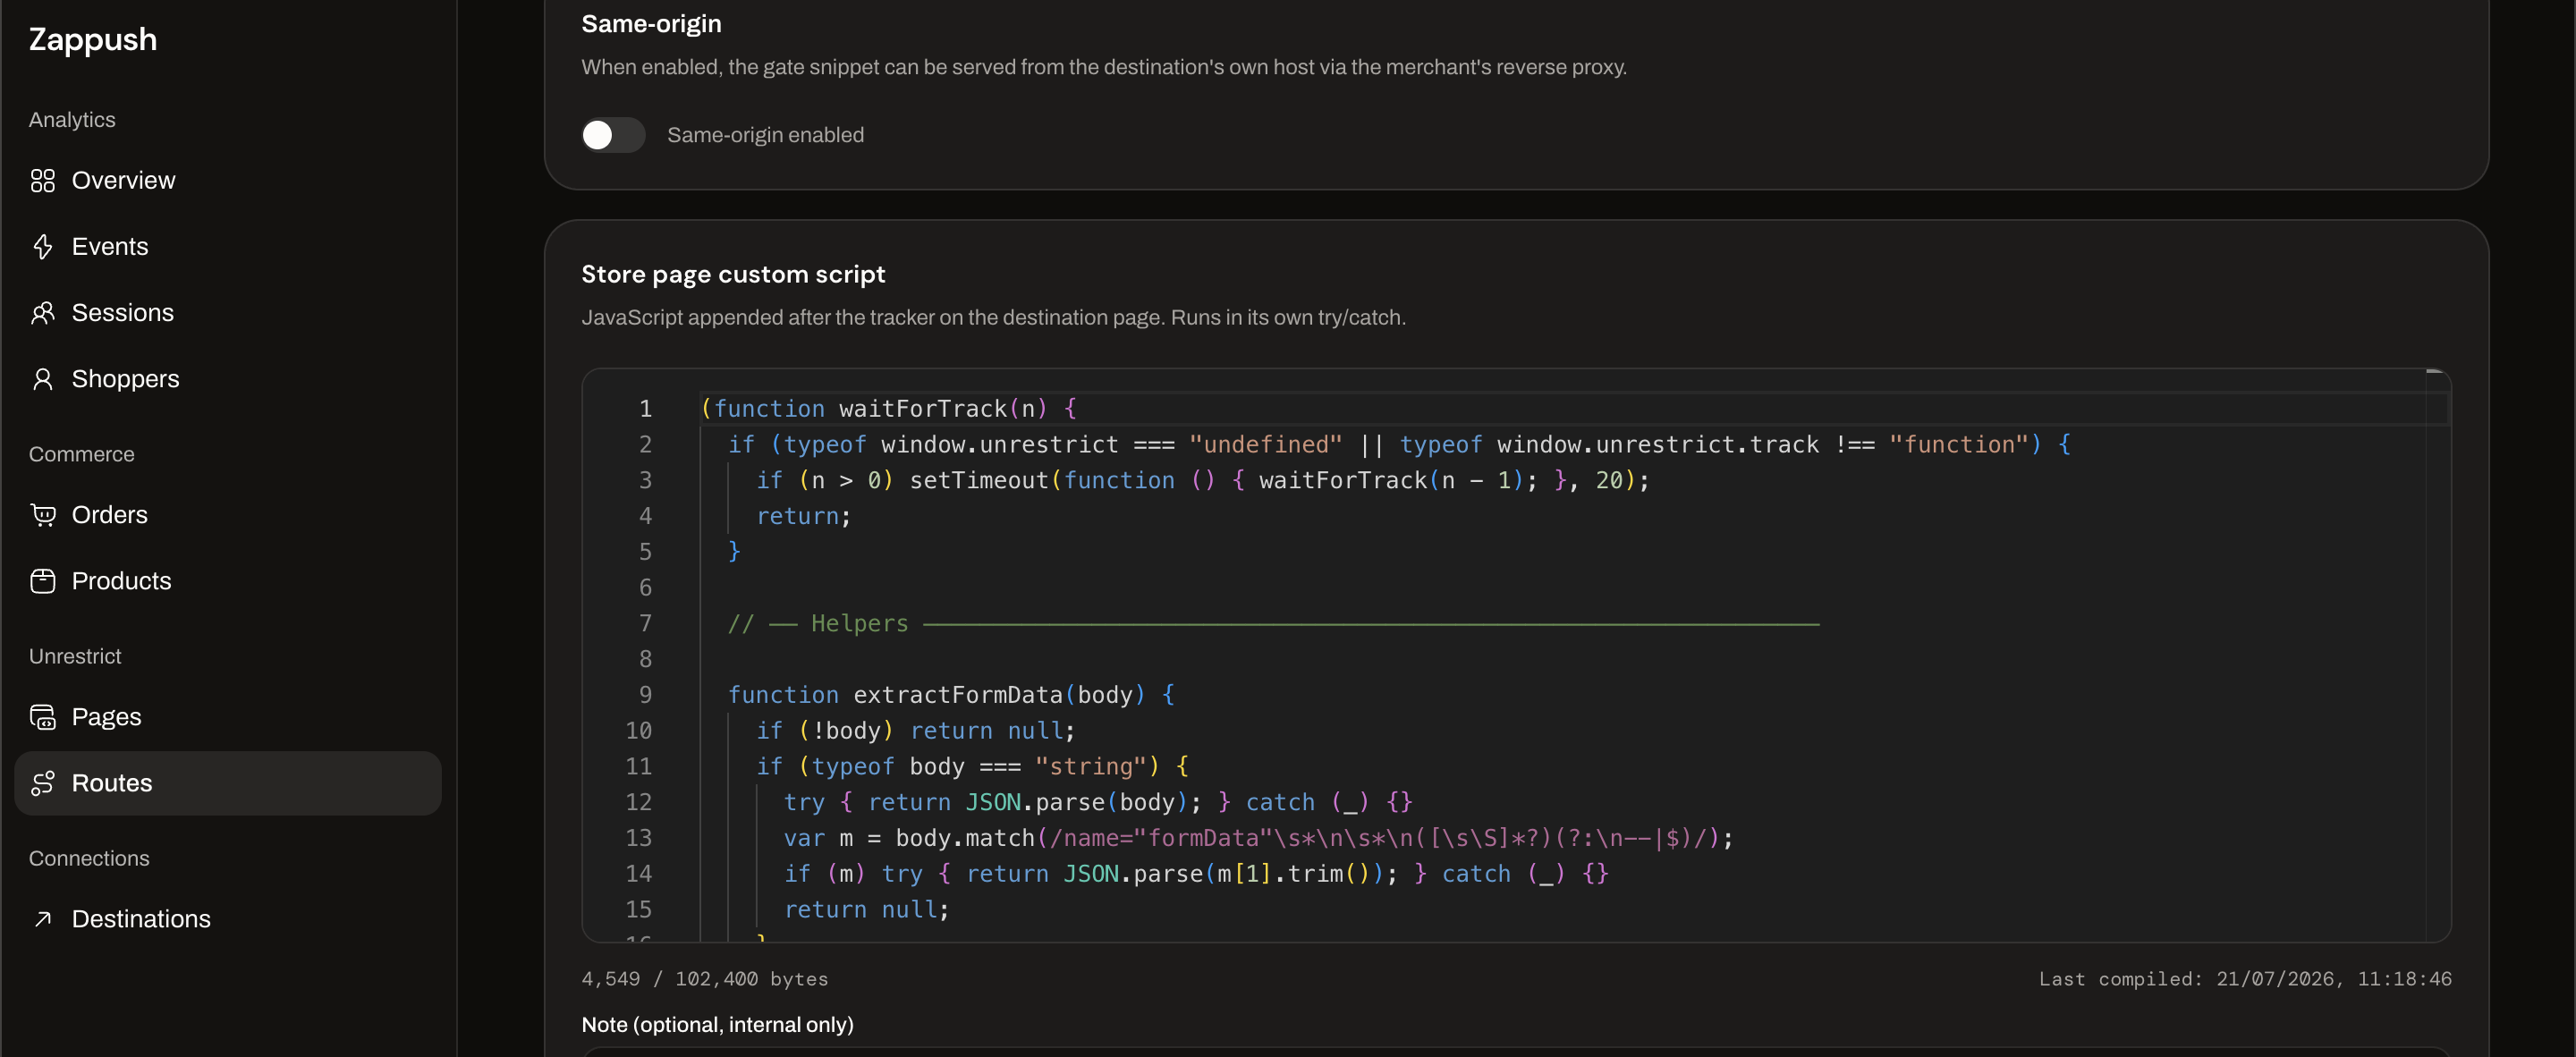
This custom script can be injected from the Zappush side itself, so there is no need to add code on your store.
Install snippets
The Install panel shows two snippets, one for each side of the route. For step-by-step instructions on adding the tracker to your platform, see Install the tracker.
Destination page (tracker): add this to the <head> of the site your traffic
lands on. It records page views, events, and shopper identity on the destination.
<script async src="https://api.zappush.com/s/<route-key>.js"></script>Compliant page (gate): add this to the <head> of your compliant page. It
captures identity and Meta signals before the redirect and carries them through to the
destination. This panel is hidden when same-origin hosting is enabled, because Zappush
then serves the gate script automatically from your own domain and no manual install is
needed.
<script defer src="https://api.zappush.com/g/<route-key>.js"></script>Copy the exact snippets from the panel; the key in each URL is unique to the route. See Scripts for a full explanation of what each script does.
You'll know it worked when
The route shows Active in the list with no Needs setup badge, the path reads from your compliant page to your destination, and loading the compliant page redirects shoppers to the destination URL while conversions fire to the pixel you chose.
Next: Compliant pages to edit the page a route points to.
Configure analytics
Tune your Zappush analytics: assign events to funnel stages, rename them for the dashboards, and turn on optional quiz and lead-gen funnel modules.
Leads
Work your sales pipeline as a kanban board, create and qualify leads, count won deals as revenue, configure your stages, read each lead's history, and export to CSV.