
Set up a compliant page
Host a clean landing page on a fresh domain that your Meta ads point to, and verify it with DNS, so Health and Wellness brands keep advertising.
If Meta restricts or blocks your ads, a compliant page is the fix. It is a clean landing page, on a brand new domain, that your ads point to instead of your store. Meta only ever sees the clean page. Shoppers who continue are redirected to your real store, and your conversions still flow to Meta.
You can let Zappush host the page for you, or plug Zappush into a page you already host. Both start the same way, in the dashboard under Pages.
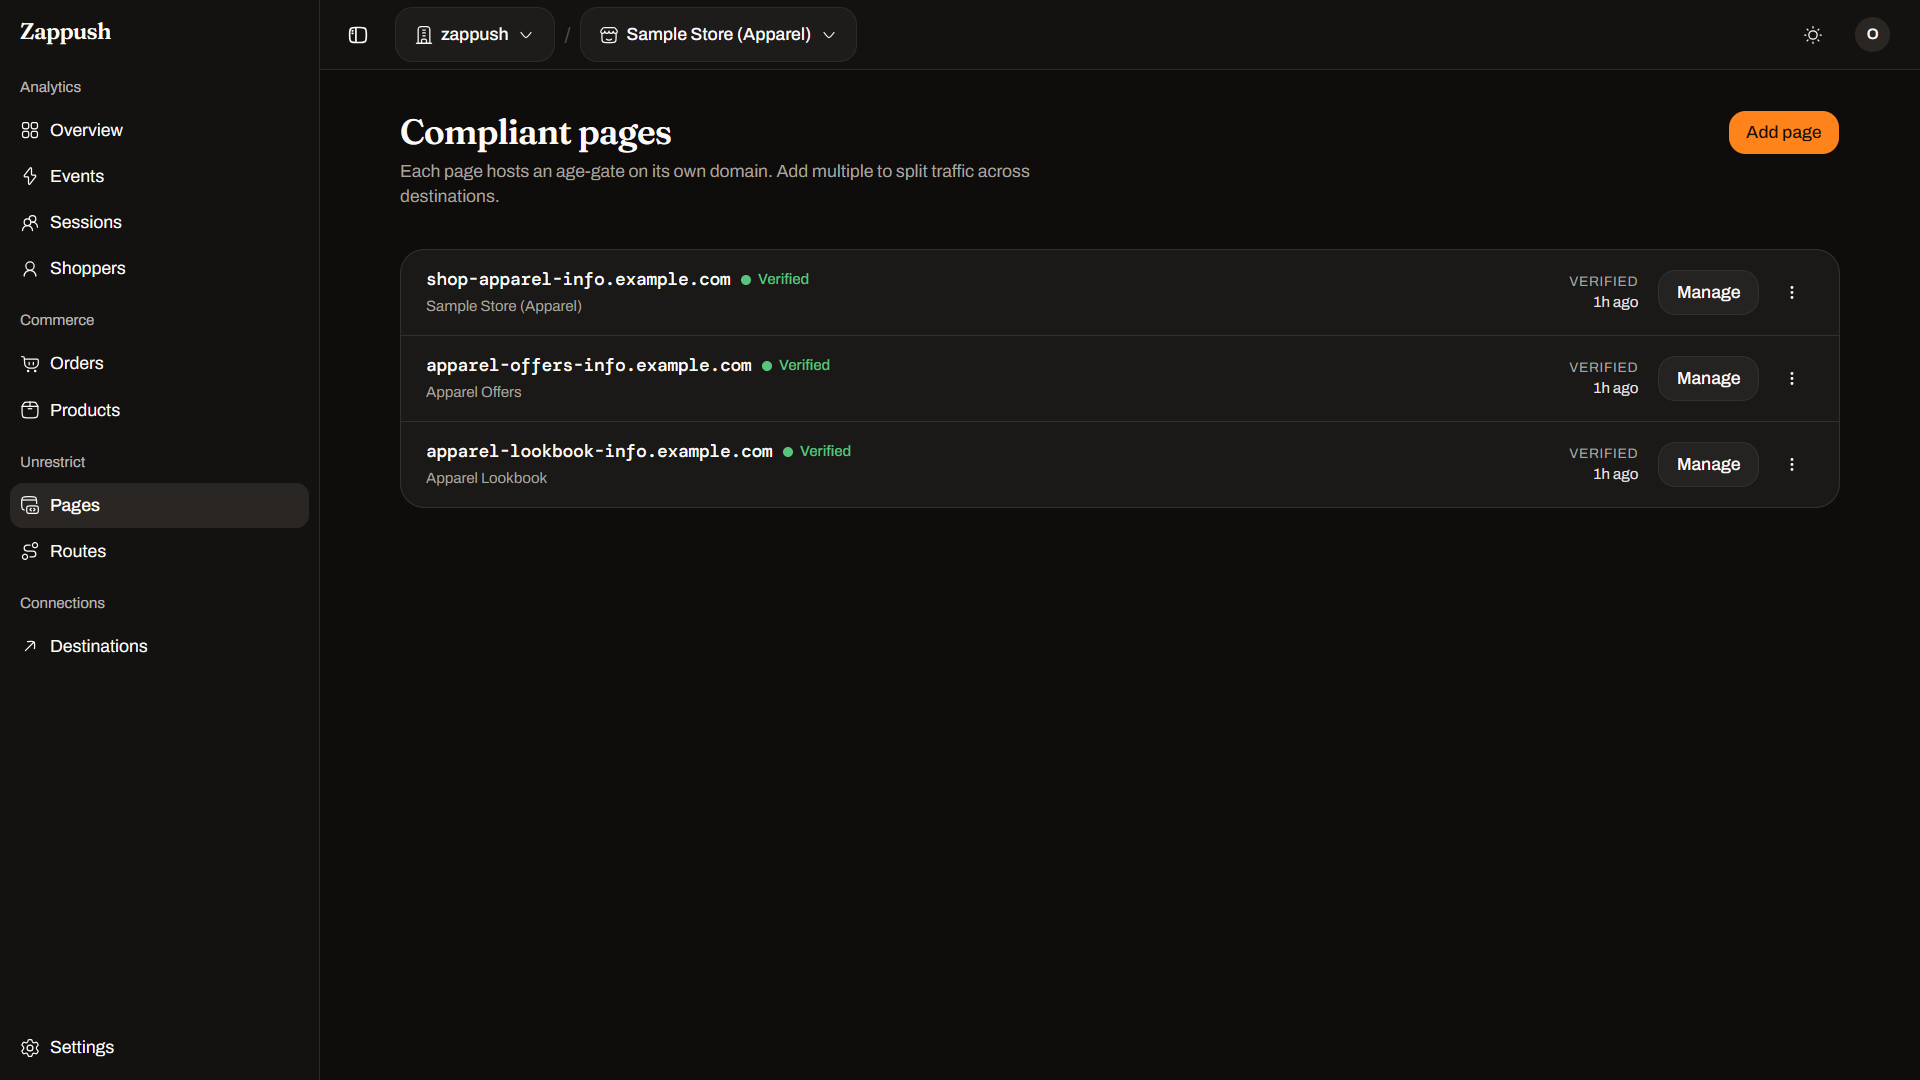
Use a brand new domain, not your store's domain or a subdomain of it. Meta flags
a root domain and all of its subdomains together, so gate.yourstore.com inherits
the same block as yourstore.com. Pick a fresh domain Meta has never seen.
Option A: Let Zappush host it
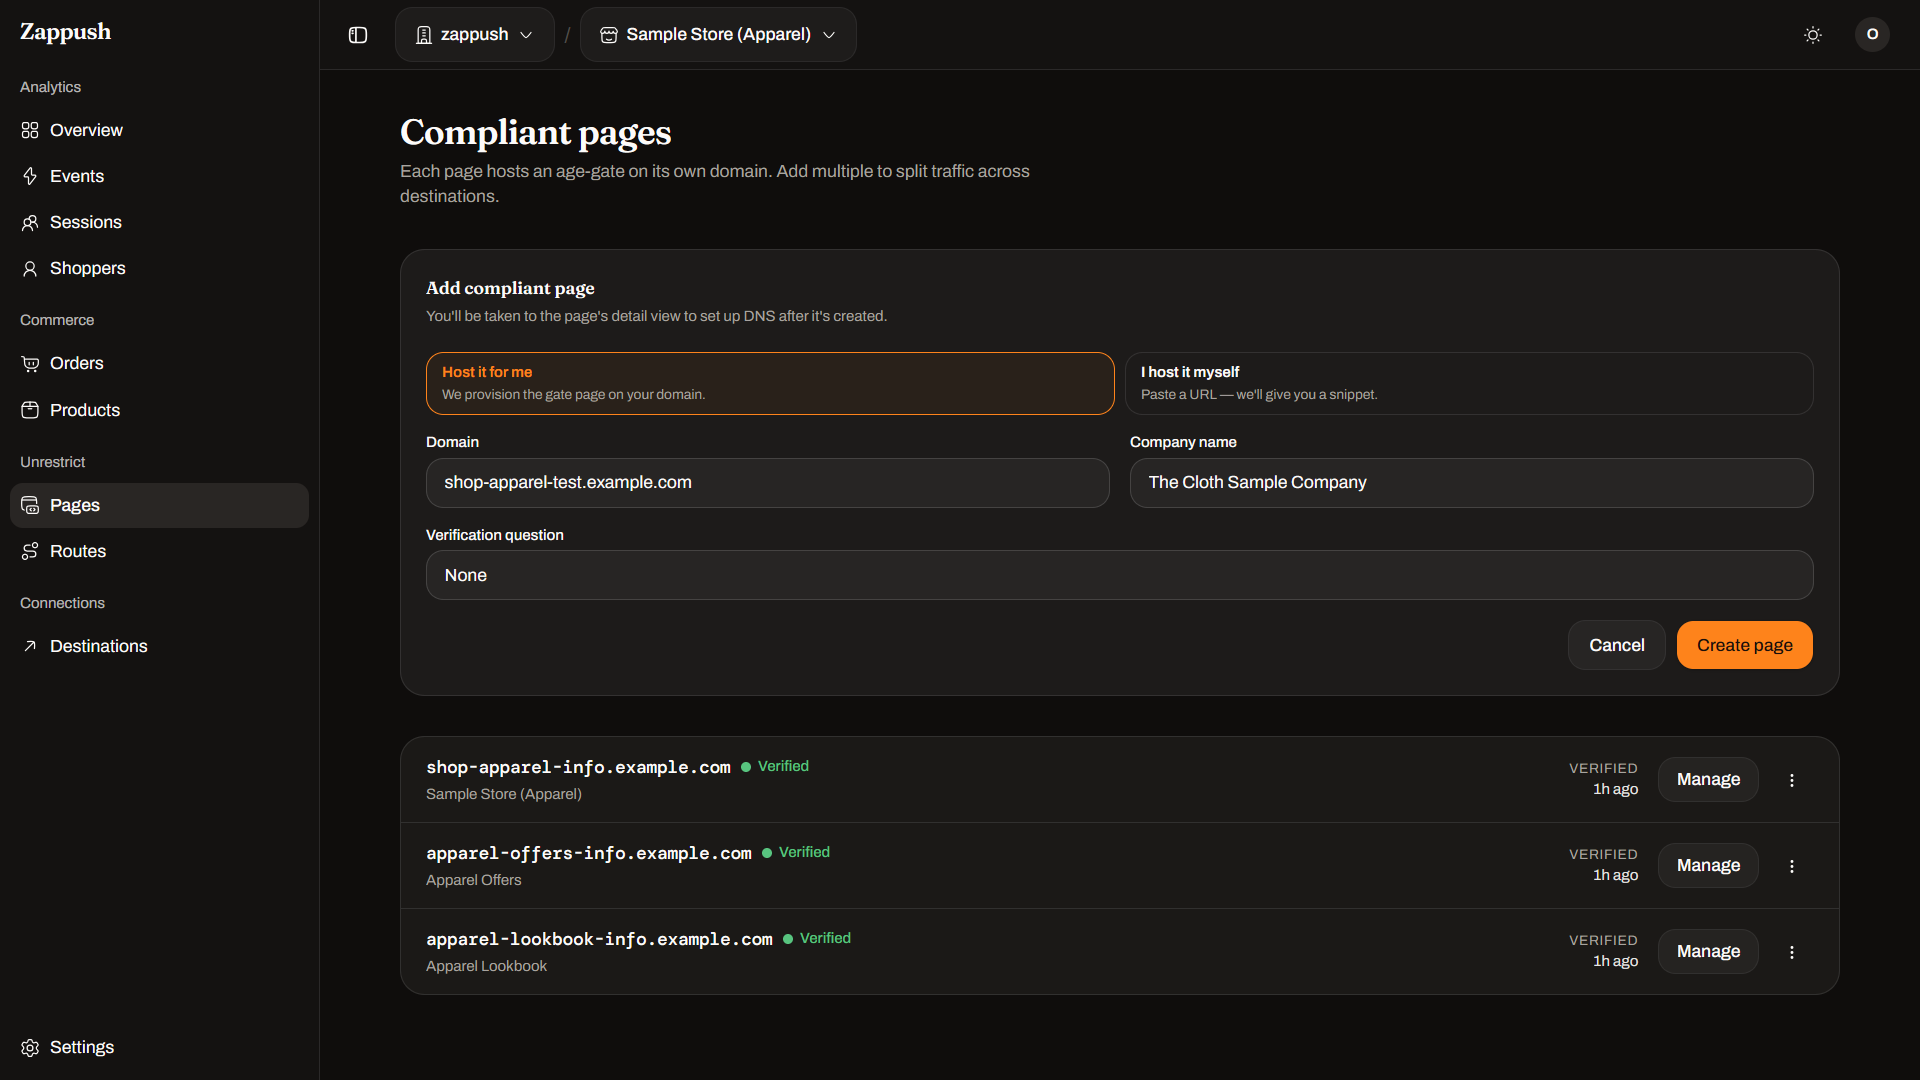
- In the sidebar, open Pages, then add a page and choose Host it for me.
- Enter your fresh compliant domain, for example
yourcompliantdomain.com. Enter it bare, with nohttps://. Zappush rejects a domain that matches or sits under your store's domain. - Continue. Zappush generates the gate page, provisions SSL, and shows you the DNS records to add.
Add the DNS records
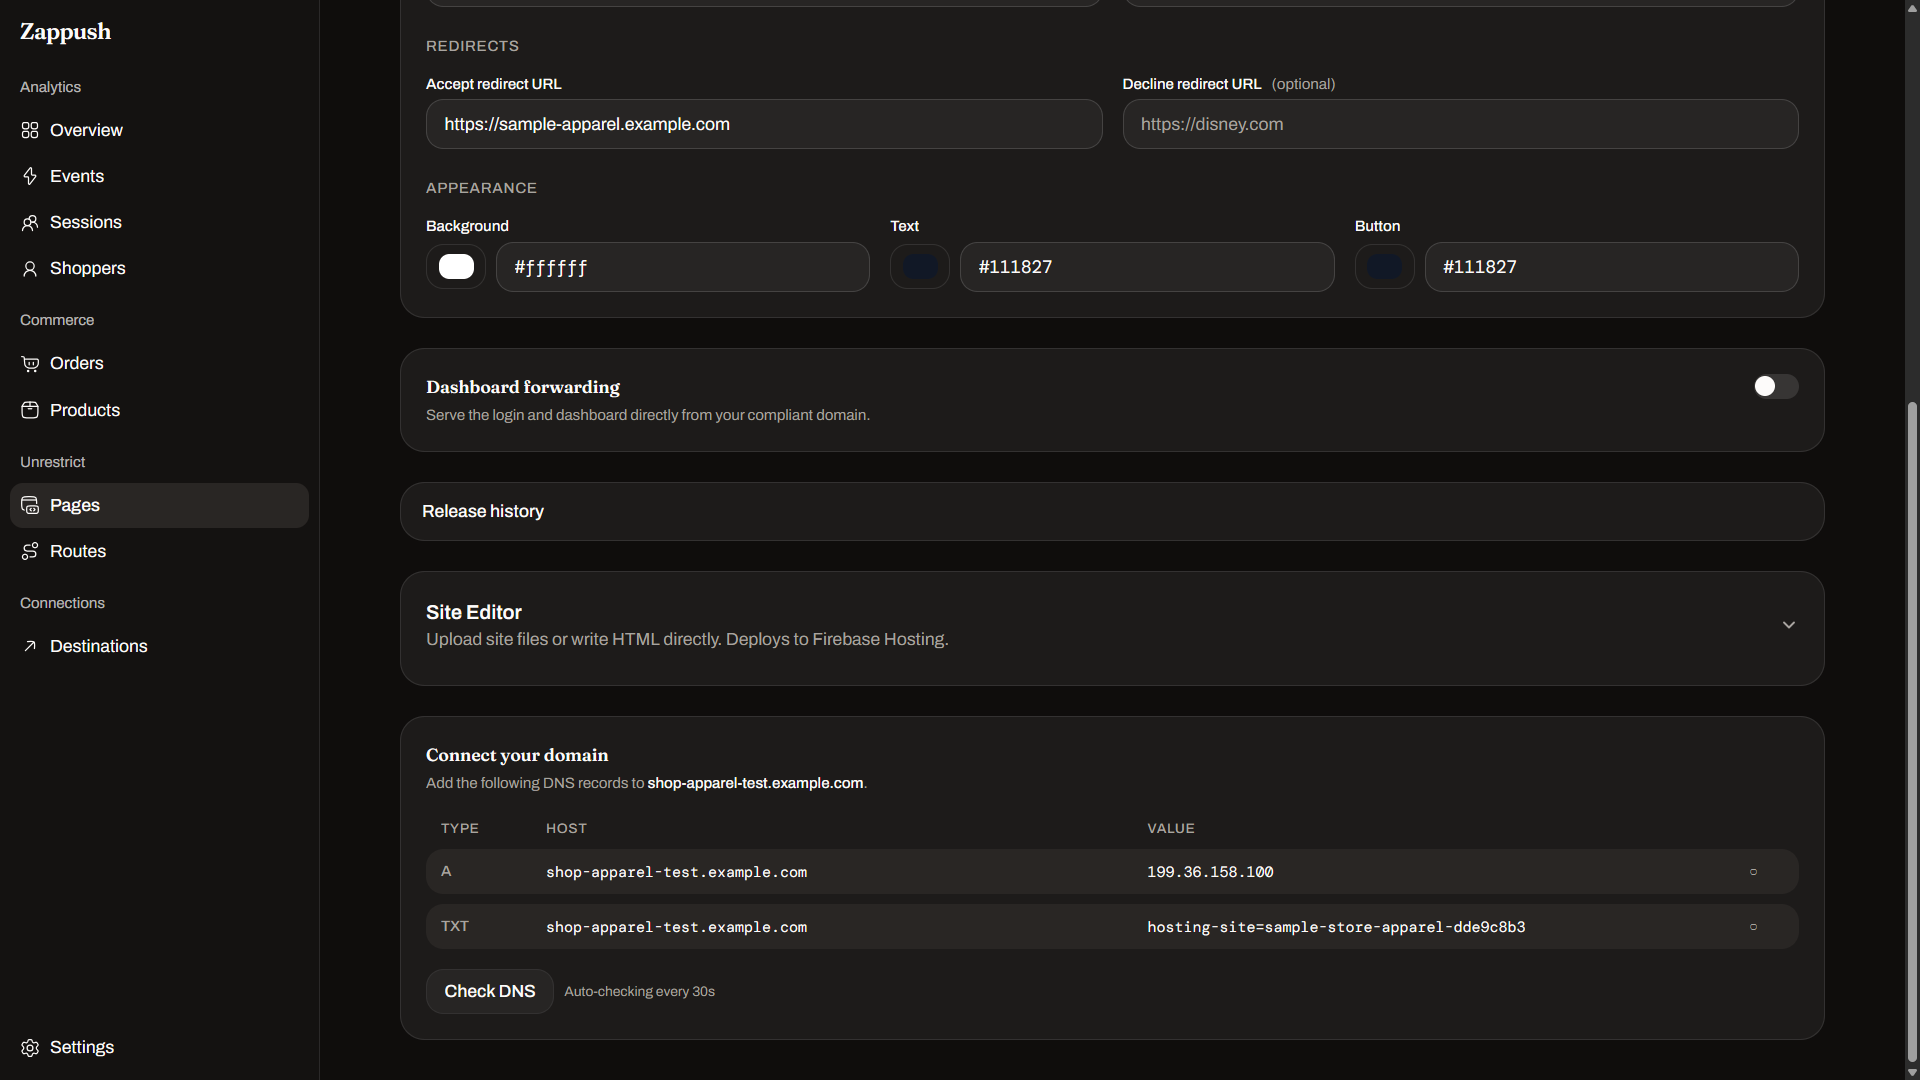
Zappush shows a table of the exact records to add for your domain, with a Copy
button on each value. There are usually two: one that points the domain at Zappush,
and a _acme-challenge TXT record that lets Zappush issue an HTTPS certificate.
- Log in to your domain registrar (for example GoDaddy, Namecheap, or Cloudflare) and open the DNS settings for your compliant domain.
- Add each record from the table, copying the Type, Host, and Value exactly as shown. Use the copy buttons so you do not mistype them.
- Save at your registrar.
Not the technical person? On the DNS screen, use Send to my developer to email the exact records to whoever manages your domain. Replies come back to you.
Where to add the records
The steps differ by where your domain lives. Find your registrar below.
Use this if you bought the domain inside GoHighLevel.
- In your GHL sub-account, go to Settings → Domains.
- Under Purchased Domains, find your compliant domain and click Configure.
- Click Add Record for each record Zappush shows you. Set the Type, Name,
and Value exactly as shown in the Zappush panel. For the root record the Name is
@. - Save each record.
For more detail, see GoHighLevel's guide: Configure & Connect Purchased Domains
Use this if your domain's DNS is managed in Cloudflare (the domain can have been purchased anywhere, as long as Cloudflare is where you manage DNS records).
- Log in to dash.cloudflare.com and select your domain.
- Open DNS → Records and click Add record.
- Set the Type, Name, and Content fields to match each record Zappush shows you. For A and CNAME records, set Proxy status to DNS only (the grey cloud), not Proxied. Zappush handles the SSL itself.
- Click Save for each record.
For more detail, see Cloudflare's guide: Manage DNS records
Use this if your domain is registered at GoDaddy and GoDaddy manages its DNS.
- Log in to godaddy.com and go to My Products → Domains.
- Click DNS next to your compliant domain.
- Click Add New Record and set the Type, Name, and Value to match each
record Zappush shows you. For the root record the Name is
@. - Save.
For more detail, see GoDaddy's guide: Manage DNS records
Wait for verification
DNS changes usually take a few minutes but can take up to 48 hours. You do not have to wait on the screen:
- Zappush checks automatically every 30 seconds and shows a green check on each record as it appears.
- You can press Check DNS now to check immediately.
- You can keep setting up in the meantime. Zappush emails you the moment the domain goes live.
When all records are found, the page shows Domain verified and SSL is provisioned automatically.
Allowlist the domain in Meta
Zappush Verified only means DNS is live so we can host the page. Meta also needs
the domain verified in Business Manager so your ads can point to it and Meta trusts
conversions from it. Meta gives you a verification meta tag to paste in your page's
<head>. For hosted pages, use the Site Editor after DNS is live. Full steps and
why it matters:
Allowlist your domain in Meta.
Option B: Use your own page
If you already host a landing page that meets Meta's rules:
- In the sidebar, open Pages, then add a page and choose I have my own compliant page.
- Paste the full URL, for example
https://yourbrand.com/age-gate. It must not be on your store's domain. - Continue. Zappush gives you two snippets to paste into the
<head>of that page: a loader script and a gate snippet. - Make sure your Yes and No buttons use the ids
btn-yesandbtn-noso the snippet can wire them up. The snippet tracks gate decisions and forwards shoppers to your store with attribution.
Customize the page
By default the page asks Are you 18 or older? and uses the compliant domain as
the company name. You can
change the question, logo, button labels, colors, and redirect URLs in the page
editor. See Compliant pages for the full
editor, custom HTML, and version rollback.
You'll know it worked when
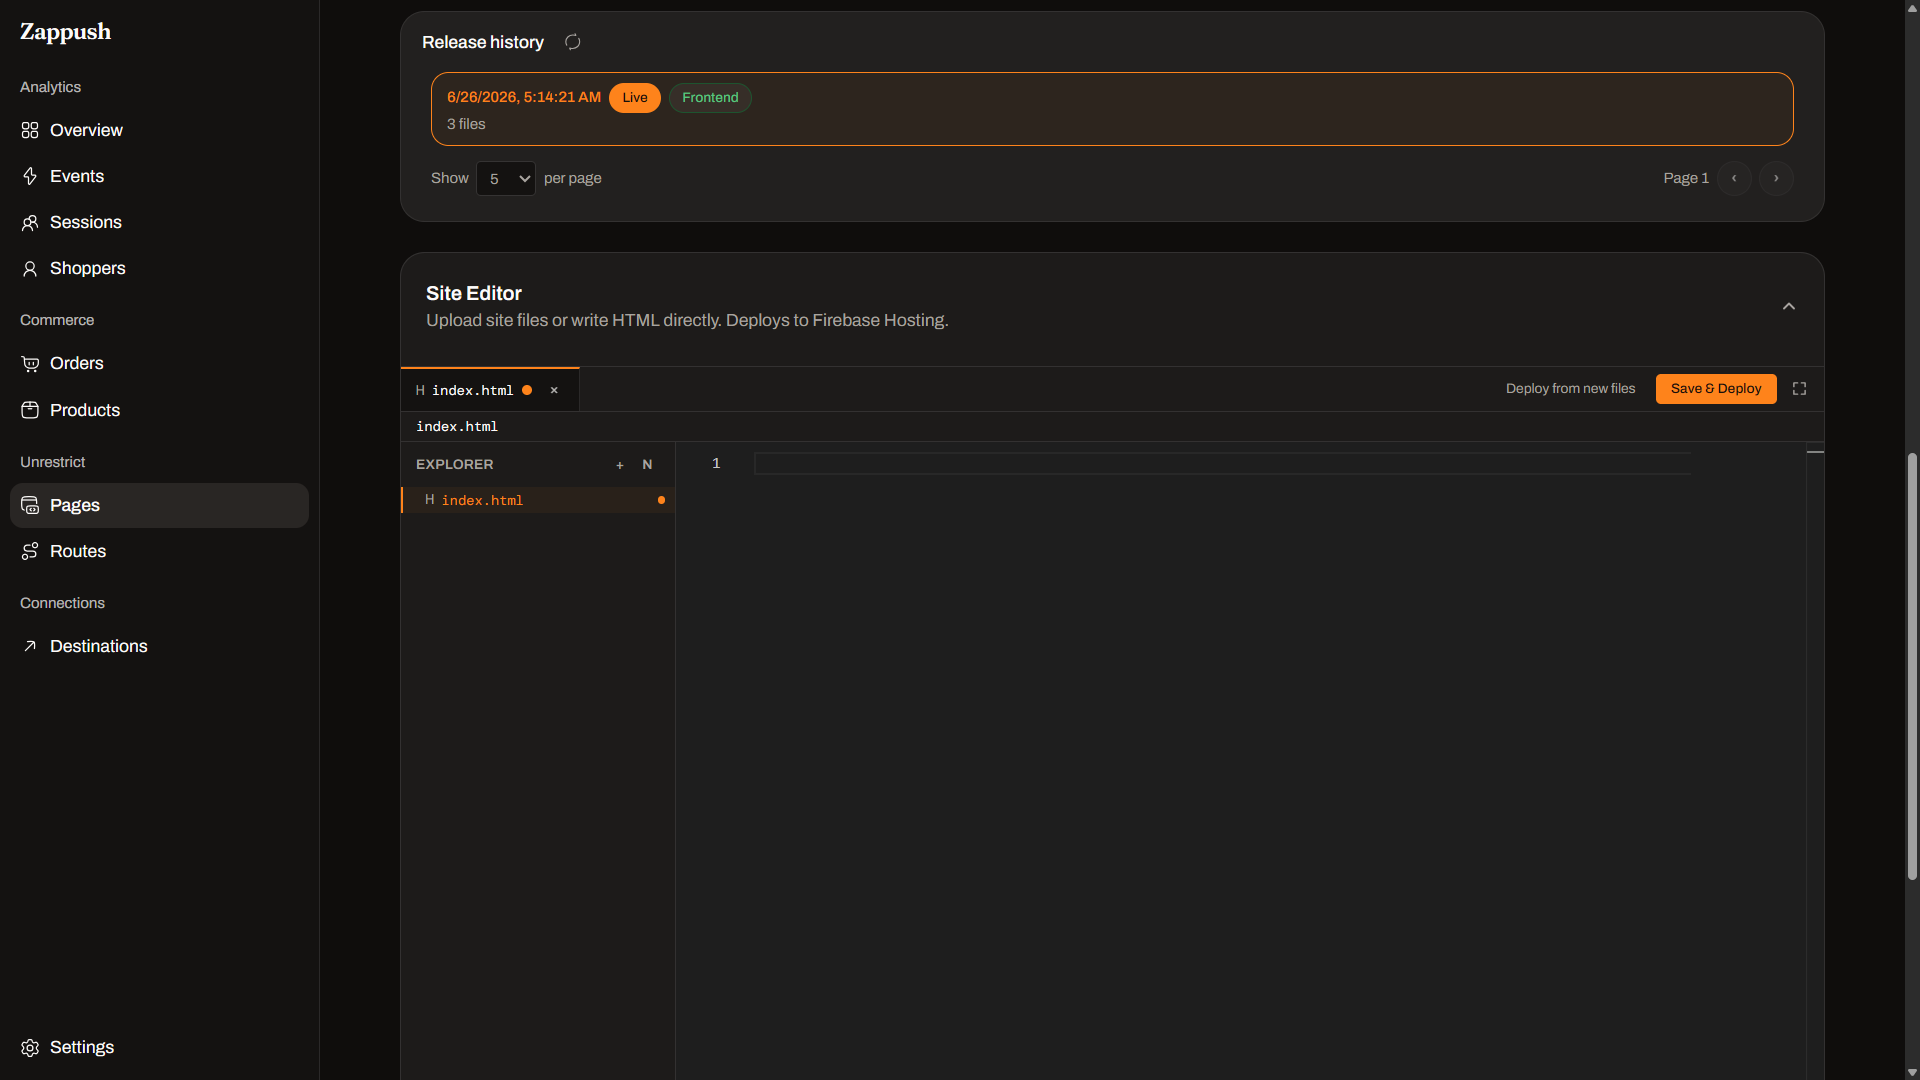
For a hosted page, the domain shows Domain verified with a green check on each DNS
record. For your own page, the snippet is in your page's <head> and your Yes and No
buttons carry the right ids.
Next: Create a route to connect the page to your store and pixel.
Connect Meta
Connect Meta with your Facebook login or add your Pixel ID and Conversions API access token manually, then allowlist your domain so conversions reach Meta.
Create a route
Tie a compliant page to your store and the Meta pixel that should fire, then install the gate snippet so your ad traffic is tracked and redirected.